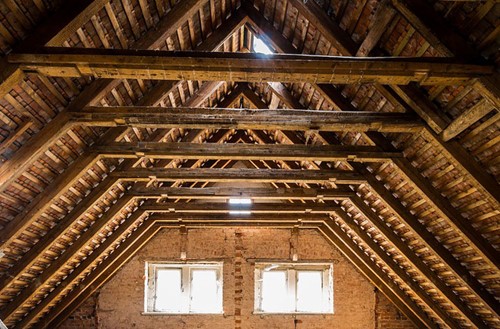
Image by Lutz Peter from Pixabay
Insulation keeps you warmer in the winter and cooler in the summer by reducing either heat coming in or escaping from your home. You might think that adequately insulating a home would be part of the home-building process. But since many new homebuyers don't consider insulation when buying, many home builders only meet bare minimum standards. Fortunately, you can add insulation yourself.
Where Do You Need More Insulation?
Ceilings and attics are a great place to start. But you also need insulation inside your outer walls. Insulating an un-air conditioned crawlspace or basement can also reduce that air from impacting your home environment. And insulation around pipes reduces the risk of cracking in cold weather.
You'll likely only need insulation on interior walls if your goal is to reduce the sound that travels through the home. If you need insulation inside your walls, interior or exterior, it's best to contact a professional.
How to Install Installation on Your Pipes
You don't have to cover all of the pipe to make a difference. But the more you cover, the less the risk.
The best way to insulate pipes is with foam insulators. These are made to fit most pipes and easy to install. For this project, you just need foam insulators and a utility knife to cut them and duct tape for the corners and oddly-shaped pipes.
Step one: Locate at-risk pipes. Size them up and cut foam pieces to match your measurements.
Step two: Find the opening in the insulator and slide it around the pipe, using several insulators end-to-end to cover the whole pipe. *Pro tip* If the insulators don't fit snuggly or are oddly shaped, unfold insulators and use duct tape to hold them together.
How to Install Insulation in the Attic or Basement
To keep it simple, we'll share how to install roll insulation. Blow insulation is a more involved project so you may want to hire a professional.
You'll need:
*Pro tip* Don't unroll your insulation until you get it into the area where you'll staple it. It will expand--a lot.
Step one: Put on your mask and work gloves. Touching insulation directly or breathing it into your lungs or throat will be an itchy experience you'll want to avoid.
Step two: Cut the insulation into manageable sections. *Pro Tip* Lay the 2X4 on top of the rolled out insulation to press it down for a smoother cut.
Step three: Using your staple gun, affix the insulation to the rafters, walls and other surfaces on the outside of the building. If your basement has stone walls with no beams, you won't be able to staple insulation there. Use duct tape instead to cover the area.
For more tips and tricks to improve your space with simple DIY projects, follow our blog.
About the Author

